AC Charging Pile OCPP Function Configuration | Complete Step-by-Step Setup Guide
AC Charging Pile OCPP Function Configuration: Complete Step-by-Step Setup Guide
OCPP (Open Charge Point Protocol) is the core standard for remote management and control of electric vehicle chargers. Proper OCPP configuration ensures your AC charging pile connects stably to the cloud platform, supports remote start/stop, data monitoring and operation management.
This guide walks you through the full OCPP configuration process for AC charging piles, matching the actual operation steps on the charger screen.
⚠️ Important Precondition
Before starting configuration, the Charger NO. must be pre-registered and bound on your OCPP platform - this is required for successful connection.
Step 1: Enter System Settings
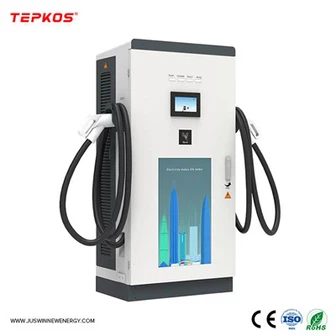
Power on the AC charging pile
Click the Settings icon in the top right corner of the screen
Enter the settings menu to start configuration
Step 2: Configure Basic Parameters
Select Basic Parameter in the menu
Set the Charger NO. (must be pre-configured on OCPP platform)
Keep default values for rated current, load balancing current, meter number
You can set installation time and monetary unit as needed
Save the basic parameter settings
Step 3: Set Communication Data
Go to Communication Data Configuration
Enter the OCPP platform URL:
ws:// = unencrypted connection
wss:// = encrypted connection (TLS)
Fill in WiFi name/password if using WiFi network
For 4G mode, enter APN, APN Name & APN Password provided by your local network operator
Confirm and save the communication settings
Step 4: Basic Function Configuration
Enter Basic Function menu
Set Charging Mode to Online Version (required for OCPP remote control)
Select Net Mode: WiFi / LAN / 4G
Set TLS Encryption based on your URL format (ON for wss://, OFF for ws://)
Enable PEN Protection & Ground Detection as needed
Save the function settings
Step 5: Set Unique HTTP Identification Code
Return to Basic Parameter Configuration
Enter the unique HTTP identification code of the charging pile
Save the settings
Step 6: Restart & Verify Connection
Return to the home screen and restart the charging pile
A new QR code will appear (for user APP scanning)
Use the operation APP to test OCPP remote start/stop control
Check connection status on the OCPP platform
Final Notes
Always confirm the Charger NO. is bound on the OCPP platform before configuration
Match TLS encryption with your URL type (ws/wss)
4G connection relies on correct APN parameters from your local carrier
Restart the charger after configuration to activate all settings
With proper OCPP configuration, your AC charging pile will support full remote management, stable data upload and standardized operation.